
Take a REST!
RESTful Web API's are ubiquitous. Time for a minimalistic, five-minutes video tutorial about REST, RESTful API's, and buidling a REST server in Go.
Table of contents
This is the transcript of the video.
Hello and welcome to a little crash course about RESTful Web API Basics in Go. I am Christoph Berger, and in this video we will look into REST basics and how to build a tiny REST server in Go.
This course consists of two parts. First, we’ll have a brief look at the basics of RESTful Web API’s. After that, we’ll build a tiny REST server together.
Rest in a Nutshell
Before touching any code, let’s have a closer look at the concepts behind REST.
What is Rest?
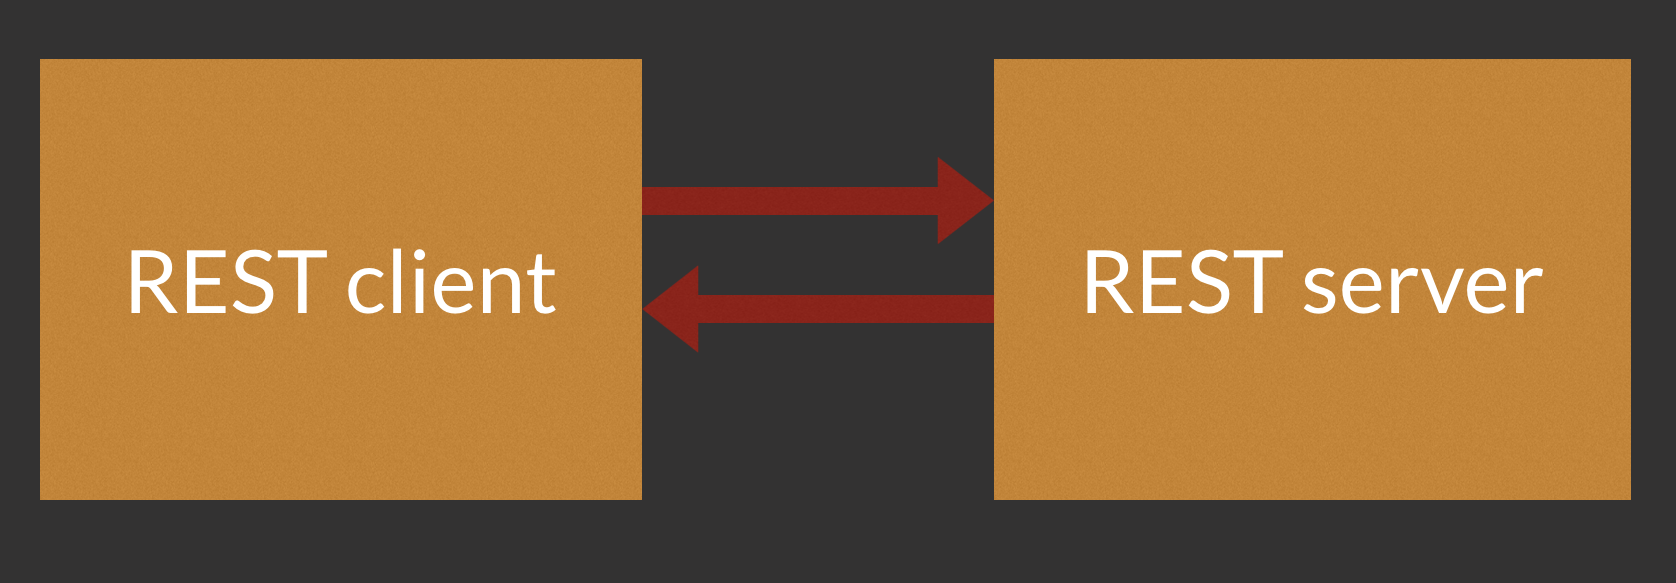
REST is an architectural paradigm that can be seen as an abstraction of the structure and behavior of the World Wide Web. Just like a human clicks a hyperlink and gets a new page of data back, a REST client sends a request to a server and gets a response back.
Basic Operations
The REST protocol is based on four basic operations: Create, Read, Update, and Delete. These operations are often described by the acronym CRUD.

REST and HTTP
REST is often but not always based on the Hypertext Transfer Protocol. Methods are built from HTTP verbs like GET, POST, PUT, DELETE, et cetera.

URL’s just point to resources that the methods can operate on. A URL never includes a method name.
This is how the CRUD operations can be mapped onto HTTP verbs:
- Create is mapped to HTTP POST.
- Read is mapped to GET,
- Update to PUT, and
- Delete to DELETE.
This assignment is not absolute. For example, both PUT and POST could be used to create or update data.
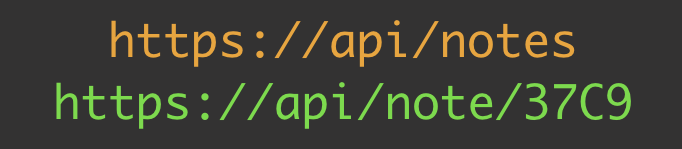
In RESTful Web API’s, a URL can describe a collection of elements, or an individual element. An HTTP verb may therefore represent two different operations, depending on whether the resource is a collection or a single element.
How To Pass Data
For sending data to the server, there are two options.
- First, you can send small amounts of data within the URL itself.
- Second, data can reside in the body of the HTTP request.
The server always returns data via the body of the HTTP response.
REST and SQL
Coincidentally, database operations also follow the CRUD scheme:
- Create maps to SQL INSERT,
- Read maps to SELECT,
- Update to UPDATE, and
- Delete to DELETE.
Well, ok, this is perhaps not much of a coincidence at all. But anyway, this is a straightforward way of making database operations accessible to Web clients.
A Tiny REST Server In Go
Our code consists of standard Go, except for the HTTP router. The standard ServerMux router is very simplistic and provides no path variables nor any complex pattern matching. A better choice is httprouter. httprouter provides path variables, designated by a leading colon, as well as a simple way of mapping HTTP verbs to CRUD operations.

UPDATE: The code has been kept simple for clarity. The original version as seen in the video does not even check for concurrent access to the data store. This is no problem when testing the code by sending curl calls one-by-one, but in real-world applications this can mess up your data. Hence the below code uses sync.Mutex to guard access to the global data store.
package main

import (
	"flag"
	"fmt"
	"log"
	"net/http"
	"sync"
httprouter. Ensure to install it first via go get. "github.com/julienschmidt/httprouter"
)
type store struct {
	data map[string]string
data. m sync.RWMutex
}
var (
addr = flag.String("addr", ":8080", "http service address")
	s = store{
		data: map[string]string{},
		m:    sync.RWMutex{},
	}
)
main
func main() {
flag.Parse()
httprouter instance… r := httprouter.New()
httprouter provides functions named after HTTP verbs.
So to create a route for HTTP GET, we simply need to call the GET function
and pass a route and a handler function.
The first route is /entry followed by a key variable denoted by a leading colon.
The handler function is set to show. r.GET("/entry/:key", show)
/list. Note that we use the same handler function here;
we'll switch functionality within the show function based on the existence
of a key variable. r.GET("/list", show)
update. r.PUT("/entry/:key/:value", update)
err := http.ListenAndServe(*addr, r)
log.Fatal prints out an error message and exits the process. if err != nil {
log.Fatal("ListenAndServe:", err)
}
}
The handler functions
- A Response Writer, and
- a Request object.
httprouter handlers receive a third parameter of type Params.
This way, the handler function can access the key and value variables
that have been extracted from the incoming URL.
func show(w http.ResponseWriter, r *http.Request, p httprouter.Params) {
ByName method, passing the variable name that we chose when defining the route in main. k := p.ByName("key")
if k == "" {
		s.m.RLock()
		fmt.Fprintf(w, "Read list: %v", s.data)
		s.m.RUnlock()
		return
	}
	s.m.RLock()
	fmt.Fprintf(w, "Read entry: s.data[%s] = %s", k, s.data[k])
	s.m.RUnlock()
}
func update(w http.ResponseWriter, r *http.Request, p httprouter.Params) {
	k := p.ByName("key")
	v := p.ByName("value")
	s.m.Lock()
	s.data[k] = v
	s.m.Unlock()
	fmt.Fprintf(w, "Updated: s.data[%s] = %s", k, v)
}
After saving, we can run the code locally by calling
go run rest.go
Now we can call our server. For this, let's use curl. Curl is an HTTP client for the command line. By default, it sends GET requests, but the X parameter lets us create a PUT request instead.
First, let's fill the map with some entries. We do that by sending PUT requests with a key and a value.
Then we can request a list of all entries, as well as individual entries by name.
curl -X PUT localhost:8080/entry/first/hello
curl -X PUT localhost:8080/entry/second/hi
curl localhost:8080/list
curl localhost:8080/entry/first
curl localhost:8080/entry/second
As always, the code (with all comments) is available on GitHub: https://github.com/appliedgo/rest
(No Playground link this time, as the Go Playground does not allow running Web servers.)
That’s it for today, thanks for reading, and happy coding!
Errata: 2017-03-05 Fixed: mutex logic for the data map.
Imports and globals